Shot types
Young people often shoot everything medium wide; when, as viewers, we really want variety. Look at films with them, getting them to watch carefully for the three main shot types and the ways they are edited together. Print out our shot sizes handout to help.
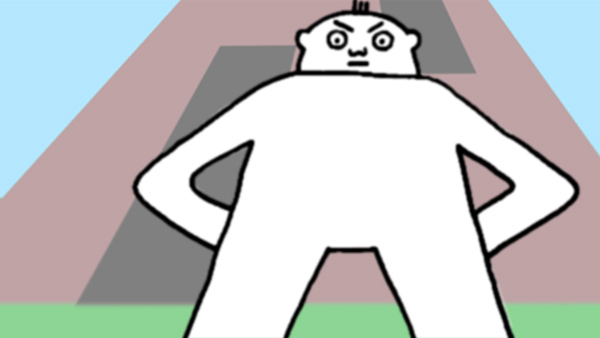
Wide shot
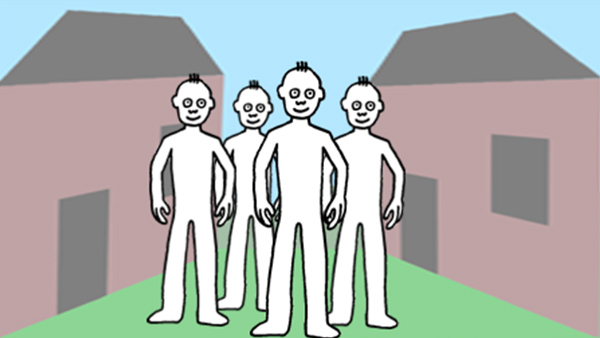
A wide shot usually covers a large area, and is created by placing the camera well back from the subject. Its main use is as an 'establishing shot' defining where the action takes place.
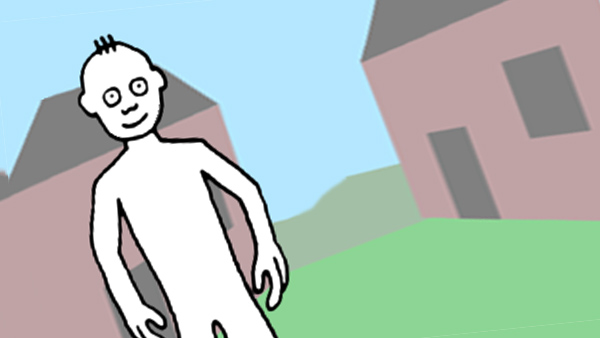
Medium shot
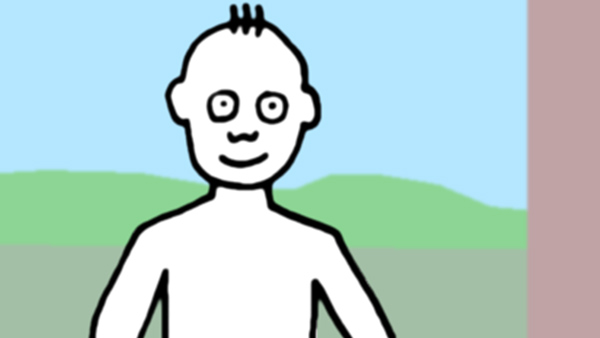
Medium shots are perhaps the most common shots and can include a number of different things.
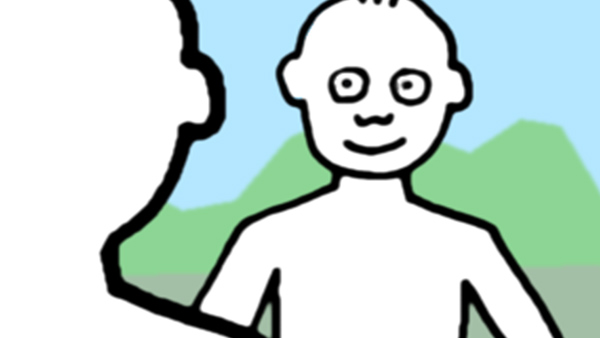
Close up
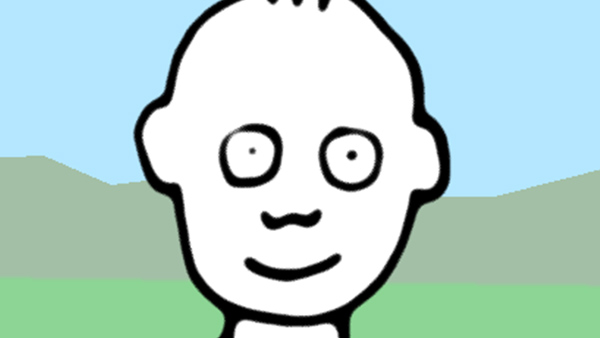
Close-up shots (cu) keep the audience involved. The face of your villain or hero arguing, spying on someone, thinking etc; or they can also be crucial elements of the action - a key turns in a lock, a pill drops into a glass!
The close-up says everything
Normally, level shots at eye height work the best. However, look at your script, is there an opportunity to be adventurous.
Angles
high angles & low angles
If you can work your script to include the dynamism of high and low angle shots, then do. Often used in partnership with each other.
Examples:
The jilted boyfriend begs at the girl's feet, she looks down at him without remorse. The timid child crawls under a table and peers out.
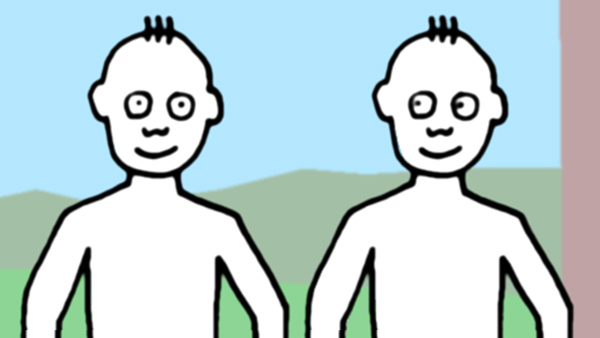
Two shot
Don't forget the two shot, which is a medium shot but obviously with two people. Often looking at each other.
Dutch
Perhaps your programme is a music video or a documentary which would suit 'dutch' angles. It means framing your shot on a deliberate angle, your horizons are at an angle and so are your characters. It can help because you don't spend ages trying to get everything totally right, flat, straight or neat (or fiddling with unreliable tripod spirit levels) You intentionally make it wonky, and used with restraint it can look rather fine. Check out how it gives a sense of emotional imbalance in Carol Reed's The Third Man or in Slumdog Millionaire.
Over the shoulder
The over the shoulder shot usually just clips the shoulder of the person who is in conversation, nice for variety in a long conversation or documentary.
The extreme close up
The word ‘extreme’ says it all, use it with care. And make sure the editor has a regular close up to choose instead.
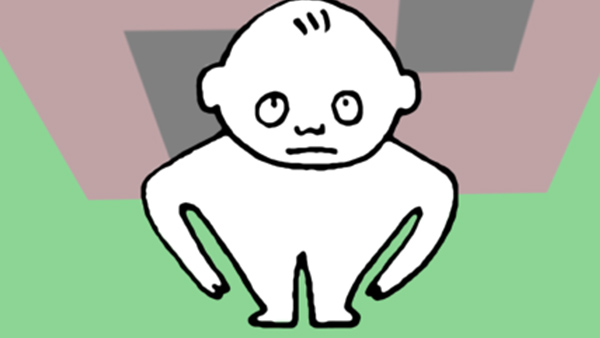
Birds eye shot
Camera completely above, usually filmed with a drone. Notice the difference to a high angle

Besides conveying your narrative in the most interesting way and getting beautifully framed up action, there are a few established 'rules' to help you get your camera angles and framings 'right'.
108 degree rule
Consider these two simple scenarios to help you understand firstly why the 180 degree rule exists.
Example 1
You are doing a scary chase scene where the hero runs from left to right across the screen. The monster chasing him follows in the same direction. The next scene shows the hero running in the opposite direction, from right to left. The monster is then seen running as before, from left to right. You have now accidentally created a visual effect that makes the audience think your hero is about to crash into the monster. This causes visual confusion with you audience.
Example 2
Another way to get you and your audience totally lost, is to have a dialogue scene and forget to think about the camera angles. eg. You are trying to create a romantic scene. In close up, facing left, Romeo says to Juliet, "I love you." Next, Juliet's close up also shows her facing left, the same way as Romeo. Instead of a romantic finale, Juliet appears to be looking away from Romeo.
Solution
The 'line of action' runs between Romeo and Juliet, or the monster and the hero. Each shot should be filmed from one side only of the 'line of action'. That way, screen direction is consistently maintained, Romeo will always be looking at Juliet (and vice versa), and the monster will always be chasing the hero. Getting it wrong is known as 'crossing the line'

Camera 1: Master wide two-shot
Camera 2: Romeo's single close up, Romeo looks to Juliet frame left
Camera 3: Juliet's single close up, the reverse of 2, Juliet looks to Romeo frame right.
Camera X: 'Crosses the line' and will be an awkward, confusing cut
Everything is easier with a simple dialogue scene, but harder when you are all huddled in someone's lounge or out on a complex exterior shoot.
30 degree rule
When cutting from a two-shot to a closer shot, change the angle significantly, usually by around 30 degrees or more, otherwise, there is a strange 'jump' to the next shot when you edit.
Difference in frame size
Combined with the rule above, your film will be easier to cut if you have a variety of frame sizes to choose from, for example, move from a close-up, to a wide, then to a medium two shot and back to close-up.
Simple vs complex
On a conversation between two seated characters where your performers know the script well, you can film from three or four positions with different frame sizes and your editing is a breeze. When you are working on a complex sequence at an exterior location things need to be well planned. Cover the whole scene with a wide shot, so you always have something to cut back to.